
As a way to focus my projects, and not create huge messes around the house, I try to limit myself to just two projects at a time. Currently, I am working on Father’s Day gifts and gifts for my brother’s 5 kids. The Father’s day gifts are all the same – so those are easy for construction. That, and I picked a simple project, so there isn’t as much stress. The cards are a bit basic as well. A little more variety comes with the project for the 5 kids. There are two young girls, one young boy, and two tween girls. So each set of girls is getting a similar project and the boy is getting something completely different. They actually are quite easy.
The ease of projects for Father’s day and Brother’s kids could be because Mother’s Day and Cinco de Mayo gifts I did not take the simple path.
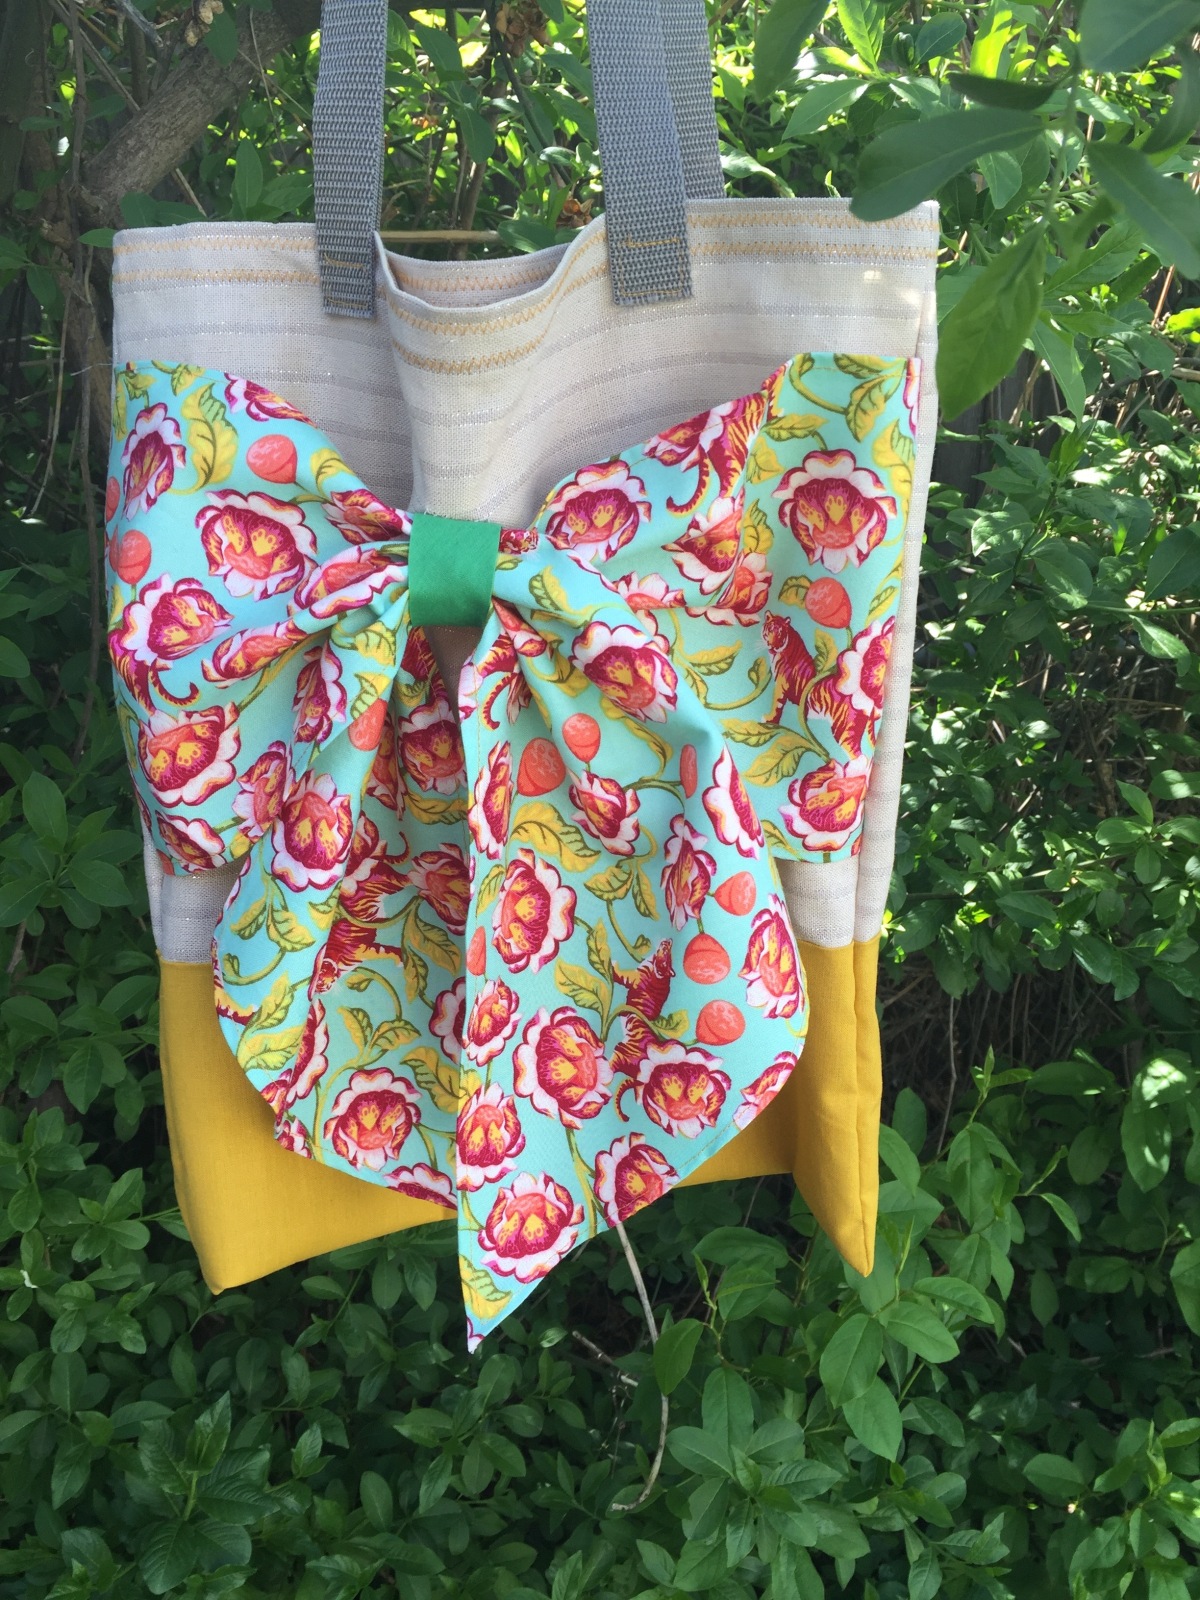
For Mother’s day I made Bow Totes. My inspiration for the tote came from two different websites I found on Pinterest – Easy DIY Bow Tote Tutorial and The Twenty Minute Tote.

These were not very easy. They were my first attempt at tote bags. I had to make at least 15. I loose focus on anything more than 12. In the end, I made 18. The part that was the most fun of this project was picking the fabric for the bows. So many pretty patterns.
I knew this project was going to be a big one, so I started in January. I was finished by March. There were various stages I would complete at random times, so I didn’t slave away. Anything more than a 3 hour block I lose concentration.
So, while working on these, I also came up with the bright idea for mini Pinatas for Cinco de Mayo. My family and friends do not celebrate this holiday, but I wanted a reason to make Mini Pinatas – so this year there was a quasi-celebration. The inspiration for these came from Video | How to make a Piñata: Cute Mini rainbow Piñatas for fiestas! and We R Memory Keepers | Mini Pinatas.


These Pinatas I did not take the easy way out. I decided I wanted to make my own shapes. So I had to research and design a heart, circle, and rectangle that was supposed to be a Lego brick. The Lego bricks did not happen. The Donkey (but for reals, it looks like a sheep dog) came premade from We R Memory Keepers and the Triangle came from a pattern that was linked in the video.
To make the fringe tissue I once again decided I wanted to do it myself. I could have bought it pre-fringed and with adhesive, but apparently I’m a glutton for punishment. So bought a fringer and added my own double sided adhesive. It was a bit tedious.
I was surprised by my ability to actually complete both projects in time to send them out! I am usually a procrastinator, so it was a great accomplishment to finish them.
In addition to my projects, I enjoy the packaging. Pretty much all my projects get sent out as family and friends are not all in Colorado. But even my Colorado friends get packages in the mail.


As you can see, my projects are multidimensional and I do my best to consider how the gifts will be received as much as how pretty the gift is.
The fathers will be getting a bit of the short stick compared to the mother’s gifts, but I will say their cards are more fun! I’m already thinking about next year’s gifts and am working on an idea that will work for both holidays.
